> ## Documentation Index
> Fetch the complete documentation index at: https://docs.trench.dev/llms.txt
> Use this file to discover all available pages before exploring further.
# Cloud Quickstart
> Send your first event to Trench Cloud
In this guide, we'll walk you through the process of sending your first event and reading it back using the Trench Cloud API.
The example uses the [Trench JavaScript client](https://www.npmjs.com/package/trench-js), but the same can be achieved by calling the [Events API](https://docs.trench.dev/api-reference/events-create) directly.
## Getting Started
To get started with Trench Cloud, you need to sign up at [app.trench.dev](https://app.trench.dev?utm_campaign=cloud-quickstart). Then, locate the necessary credentials in the `API Keys` tab.
 Next, install the Trench JavaScript client using your favorite package manager:
```bash theme={null}
npm install trench-js
```
Alternatively, you can use the hosted version via the script tag below and skip the **Initialize the Client** step:
```html theme={null}
```
After installing the client, you need to initialize it with your API key. Replace `YOUR_API_KEY` and `YOUR_SERVER_URL` with the actual API key and server URL you received:
```javascript theme={null}
import Trench from 'trench-js'
const trench = new Trench({
publicApiKey: 'YOUR_PUBLIC_API_KEY',
serverUrl: 'YOUR_SERVER_URL'
});
```
Optionally, you can identify a user with the `identify` method:
```javascript theme={null}
trench.identify('user-id', {
email: 'test@example.com',
// Add any other traits you want to associate with the user
})
```
Now you can send a sample event to Trench Cloud. Here is an example of how to send an event:
```javascript theme={null}
trench.track("Test Event");
```
This will send an event with the name `Test Event`.
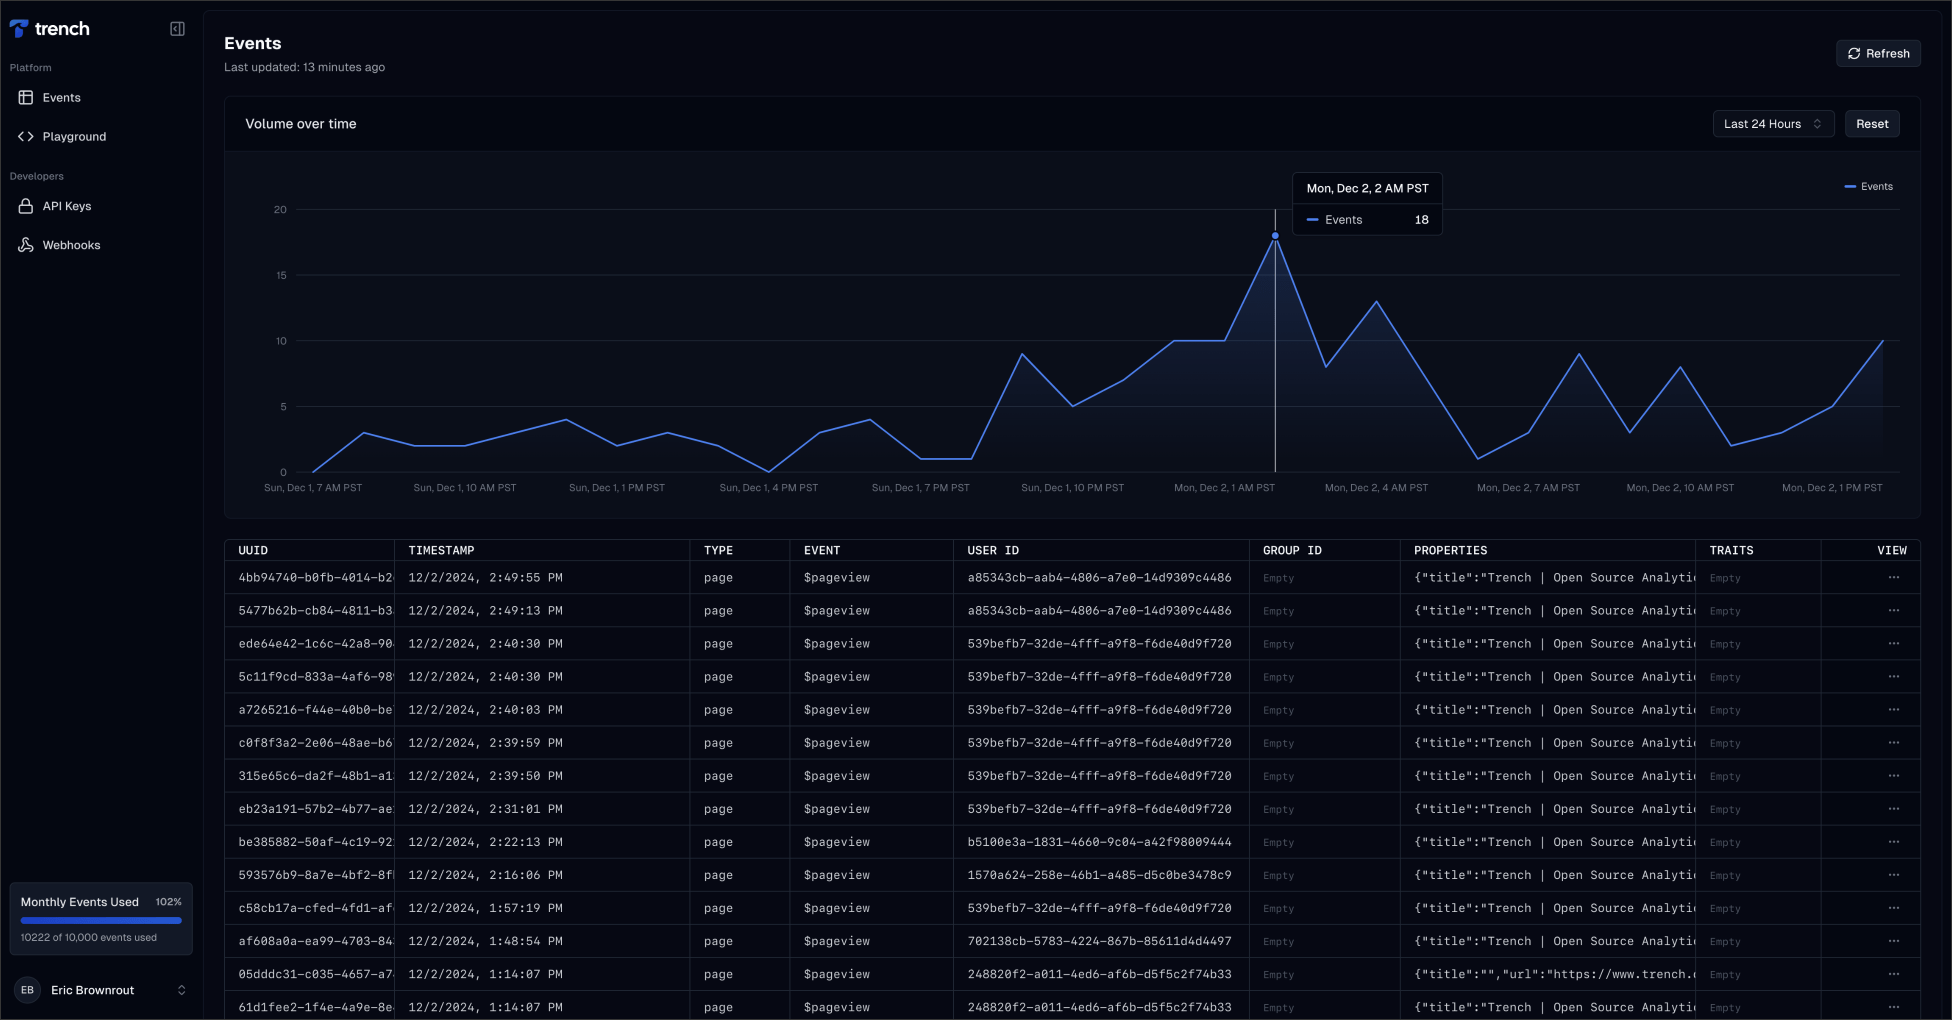
You can verify that the event was received by opening the `Events` tab in the Trench Cloud dashboard.
## Going Further
Now that you've sent your first event, you can learn more about the many things you can do with Trench.
Next, install the Trench JavaScript client using your favorite package manager:
```bash theme={null}
npm install trench-js
```
Alternatively, you can use the hosted version via the script tag below and skip the **Initialize the Client** step:
```html theme={null}
```
After installing the client, you need to initialize it with your API key. Replace `YOUR_API_KEY` and `YOUR_SERVER_URL` with the actual API key and server URL you received:
```javascript theme={null}
import Trench from 'trench-js'
const trench = new Trench({
publicApiKey: 'YOUR_PUBLIC_API_KEY',
serverUrl: 'YOUR_SERVER_URL'
});
```
Optionally, you can identify a user with the `identify` method:
```javascript theme={null}
trench.identify('user-id', {
email: 'test@example.com',
// Add any other traits you want to associate with the user
})
```
Now you can send a sample event to Trench Cloud. Here is an example of how to send an event:
```javascript theme={null}
trench.track("Test Event");
```
This will send an event with the name `Test Event`.
You can verify that the event was received by opening the `Events` tab in the Trench Cloud dashboard.
## Going Further
Now that you've sent your first event, you can learn more about the many things you can do with Trench.